
The ability to create test users allows developers to authorize access to their applications through the use of a password, as opposed to using electronic ID. This is useful when access to the application needs to be granted to someone without an Icelandic national ID, for instance, for App Store reviews, or when foreign contractors require access. Furthermore, since the profile information for a test user can be modified freely, this allows you to test how your application behaves dependent on which id token claims are present after a successful authorization request.
Please note that the “Test users” feature is only available on Pro and Enterprise plans.
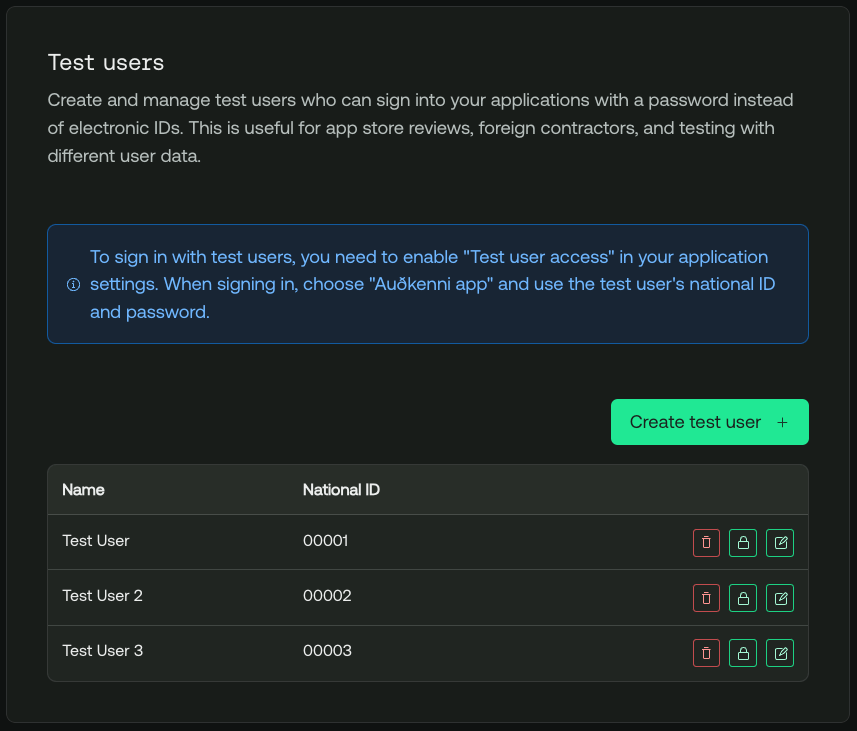
Managing test users
To manage test users, navigate to the Kenni developer portal, click “Settings” then navigate to the “Test users” tab.
Creating test users
To create a test user, click the “Create test user” button.
Fill out the form with details relevant to the authorizing party:
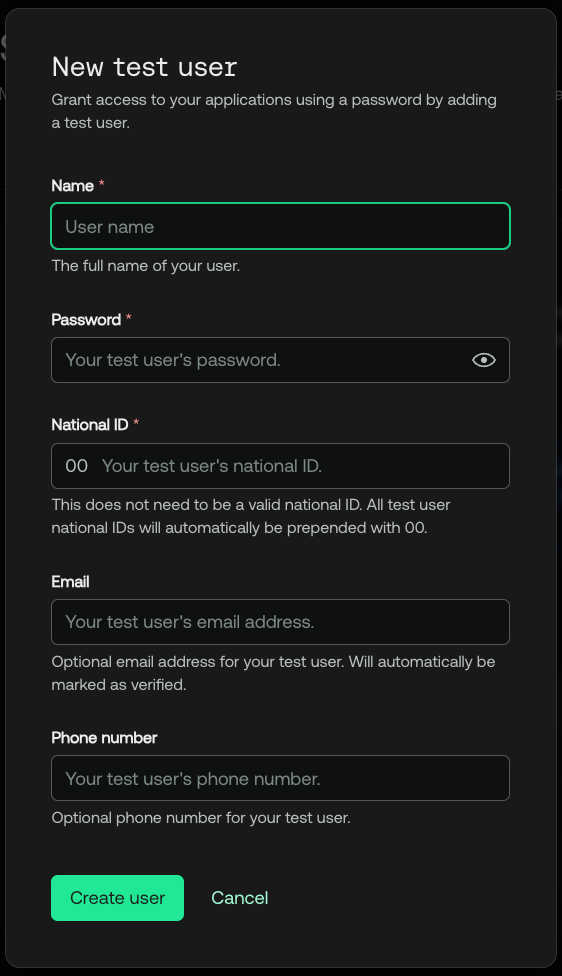
Name: This is the name of the person that will be authenticating.
Password: A string with a minimum length of 6 digits. There are no strongly enforced password requirements, and the onus rests with the team to have it of an appropriate strength, keeping in mind the security risks of granting access to your application to an arbitrary identity. When creating a test user, the user’s password can be viewed in clear text by clicking the eye icon within the password input. Note that the password can only be viewed at the time of creating the user, after which it won’t be viewable again. In case the password is forgotten, it may be changed afterwards.
National ID: The national ID entered here does not need to conform to the structure of Icelandic national ID’s, and can be of any length smaller than, or equal to 10 digits. Whatever is entered here will automatically be prefixed with ’00’, making it an invalid Icelandic national ID, both for confidentiality and security reasons. The national ID entered here has to be unique within a team.
Email: The email address is optional, and does not need to be unique within a team. It should be filled out if it’s expected that an email address will be returned as part of a successful authorization request.
Phone number: The phone number is optional, and does not need to be unique within a team. It should be filled out if it’s expected that a phone number will be returned as part of a successful authorization request.
After filling out this form, click “Create user”.
Editing test users
After a test user has been created, it should be visible in the test user table on the Test users tab under Settings. Click the left most icon button in the row that contains the Test user that should be edited. The buttons can be found in the right most column of the table.
The form for editing a test user is similar to creating a test user, the only difference being that the password field is omitted. Since passwords are not stored in clear text, a test user’s password cannot be viewed or changed here.
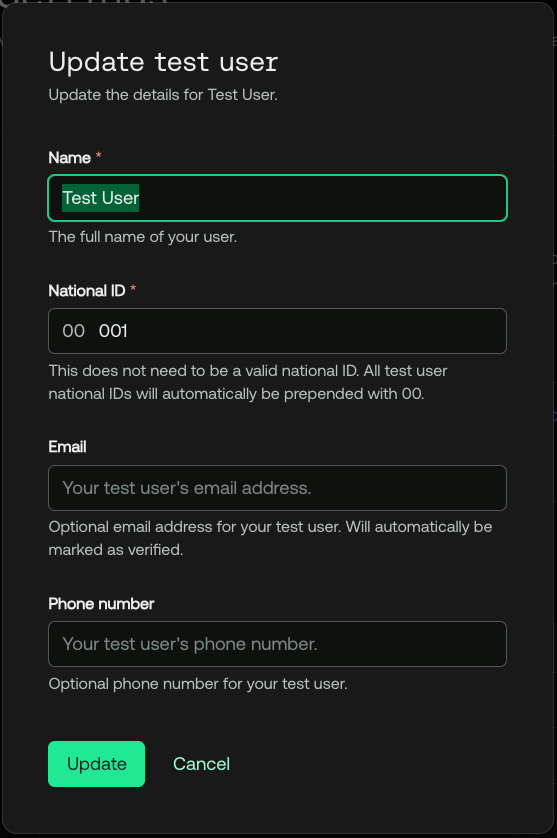
Fill out this form, and click “Update”.
Changing a test user’s password
To change a test user’s password, find the appropriate user in the test user table, and click the second button. This button has a lock icon. The buttons can be found in the right most column of the table.

Fill out the user’s new password, and click “Change password”.
Deleting a test user
To delete a test user, find the appropriate user in the test user table, and click the first button. This button has a trash-bin icon. The buttons can be found in the right most column of the table. You’ll now be able to confirm whether to delete the test user.
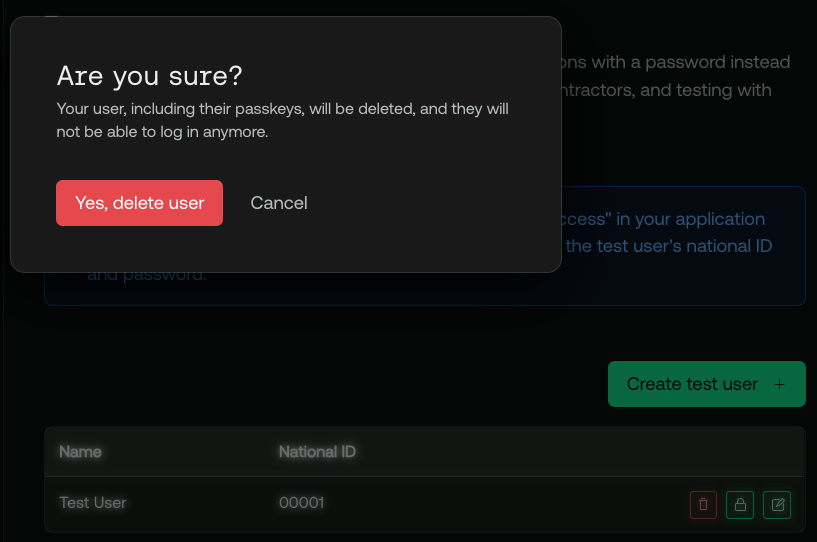
Please note that when deleting a test user, all related information for that test user will be deleted, which may include the stored public key of the passkey for that user. Since the private key pair of the passkey is stored on the user’s device, Kenni cannot delete it, which means you might still have the ability to select this passkey as a means of authenticating, although authenticating with it will fail. Simply forget the locally stored credential to rectify this, and delete the local passkey from your device.
Enable test user access for your application
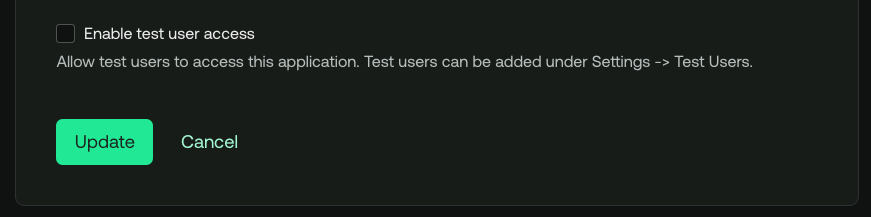
Before being able to log in with a test user, ensure that your application allows test user access.
Navigate to “Applications”, click the appropriate application, then navigate to the “Settings” tab. Scroll down until you find the “Enable test user access” checkbox, check it, then click “Update”. By default, no applications allow test user access.
Signing in as a test user
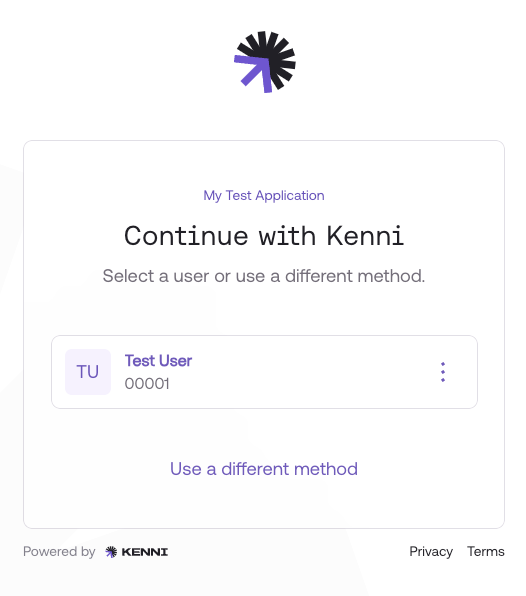
To sign in as a test user, initiate an authorization request to your application. If your application has existing stored passkeys, click “Use a different method”, then click “Auðkenni app”.
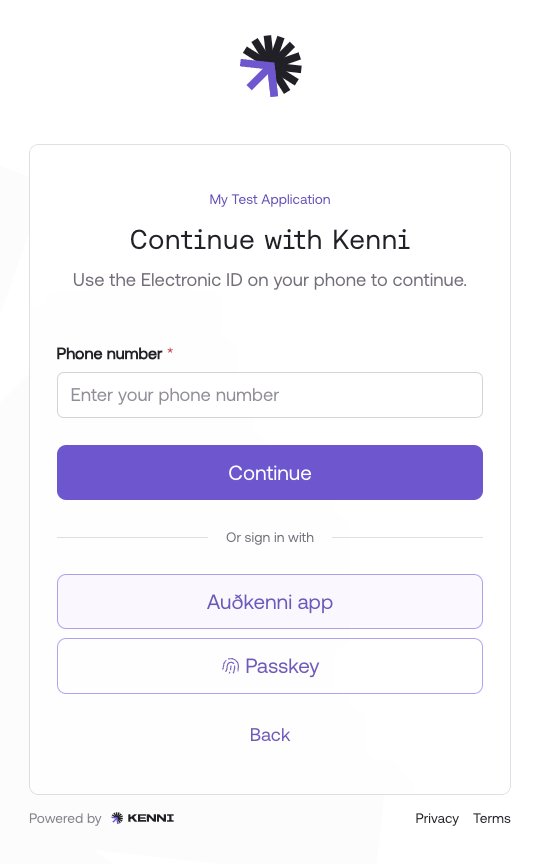
After clicking “Use a different method” or if your app did not have existing stored passkeys, simply click “Auðkenni app” under “Or sign in with”.
You will now be presented with a screen where the test user’s national ID can be entered:
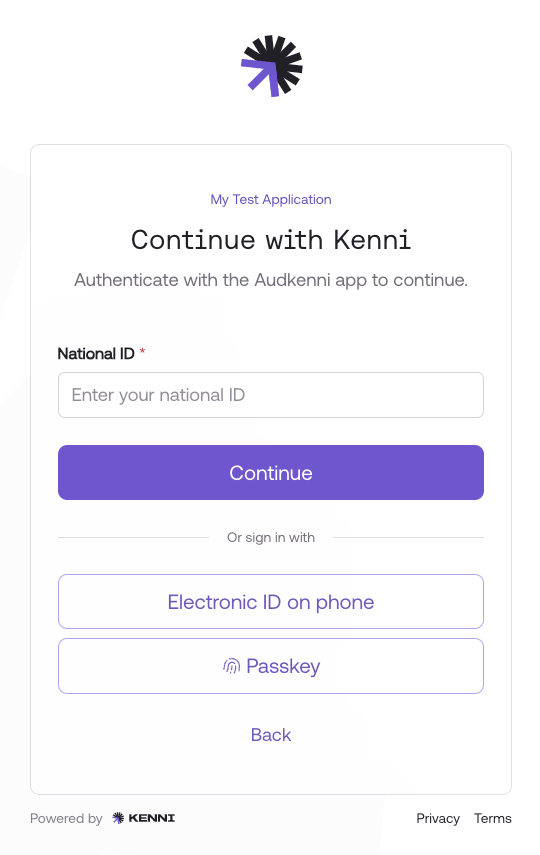
Enter your test user’s national ID. Please note that when entering it here, it has to be entered exactly as it’s displayed in the test user table, meaning, it has to be prefixed with ’00’.
If entered correctly, you’ll now be presented with a screen where the test user’s password can be entered.
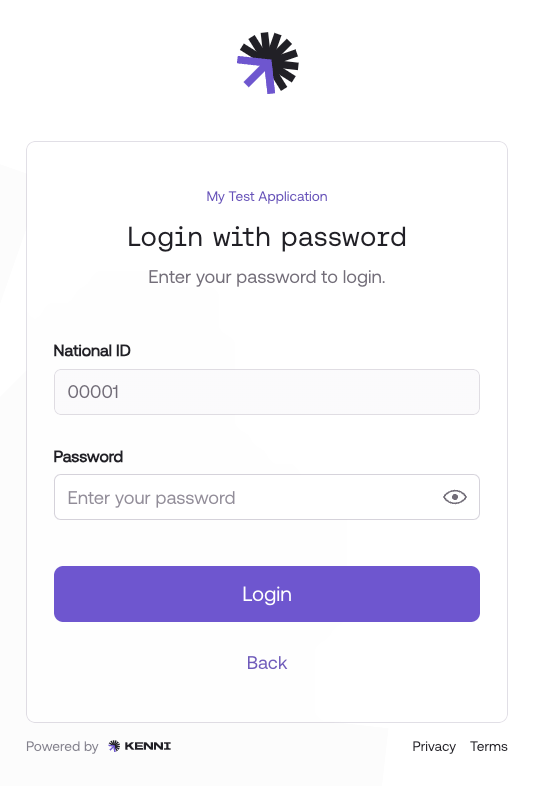
After entering the password, the authorization flow continues as it would have for a user authenticating with any of the other non-passkey methods. This means that if you haven’t done so already, you’ll now be able to add a passkey for this user.
Test user passkeys
When adding a passkey to a test user, it’s important to keep the following in mind:
- A test user’s passkey will be available to all applications that support test user access.
- As opposed to a regular user’s passkey, a test user’s passkey can only be used in the team to which the test user belongs.
Cost per authentication
Test user authentications incur no costs, however, this feature is only available on Pro and Enterprise plans. Test user authentications include:
- A successful authentication with a test user Password.
- A successful authentication with a passkey that belongs to a test user.
A successful authentication with a passkey belonging to a test user will not count towards the amount of passkey authentications included in the plan tier.
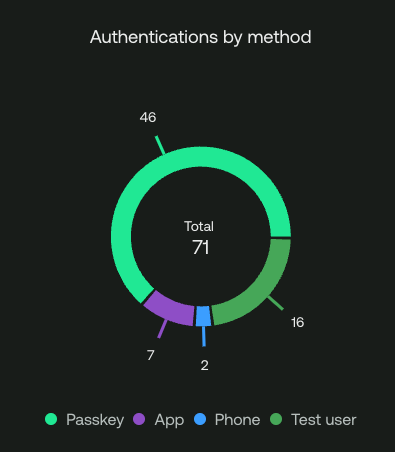
Teams on Pro and Enterprise plans will be able to view their test user’s password authentication count on the Activity page:
Test user limitations
While logging in as a test user should behave in an identical fashion as to how normal users would authenticate, there are a few limitations to be aware of:
- Test users can only log in to applications that have test user access enabled.
- For security and confidentiality reasons, test user national ID’s are always prefixed with ’00’.
- Test users cannot be invited to join teams. While a test user can be logged in when accepting an invite, redeeming the invitation will fail.
- Email addresses and phone numbers of test users does not necessarily have to be unique.
- When creating a passkey for a test user, the name of the locally stored passkey will be the name of the test user, postfixed with ‘(Test User)’. While this makes it easy to identify test user passkeys, it also avoids local passkeys from potentially overriding a real user’s passkey that has the same name as the test user. Of course, this will only happen if both users have passkeys on the same device.
- The test user feature is only available on Pro or Enterprise plans.